Quick Start Video Guide |

What's In The Box?
Other
optional items available in our store:
|

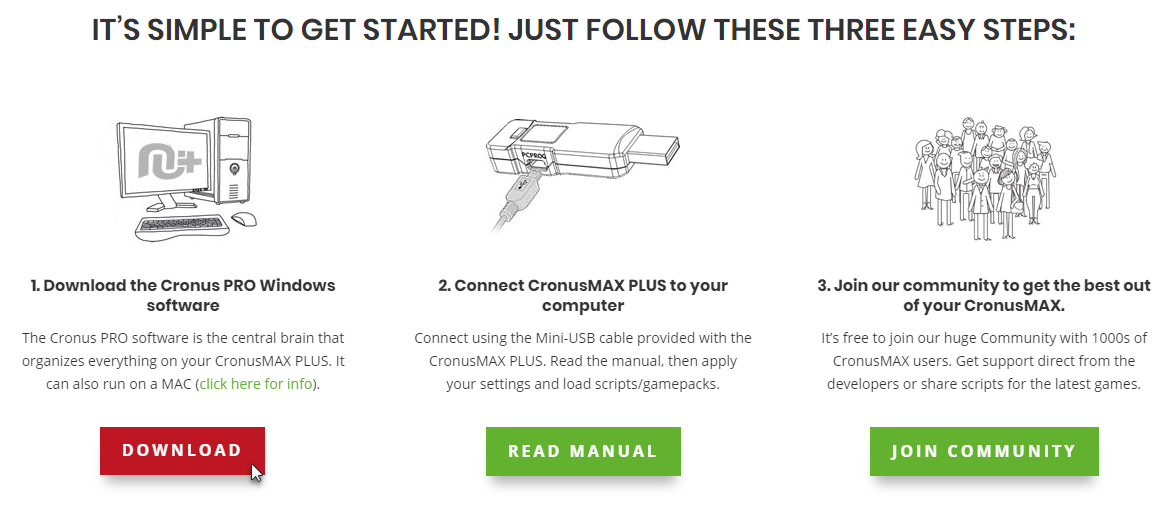
Download & Install Cronus PRO
Cronus PRO
is the main Windows software for programming, updating and configuring your CronusMAX
PLUS. It gives you access to everything from GamePacks, Button Remapping, Macro/Combo
Capturing, GPC Script Development, GPC Script Sharing and so on. Cronus PRO is a very
powerful tool designed for beginners through to advanced users, making every and any
controller customization (rapid fire, quick scope, anti-recoil, button remap, macros,
combos, etc...) within reach of everybody. Much like any new software, there is
much to learn when it comes to using Cronus PRO - but it really isn't that difficult
once you get to grips with it and especially if all you are doing is using GamePacks
or setting up a controller to work on a different console - there's actually not much to
it at all. For now we will do a simple walk through on how to download and install - but
to get to the actual Cronus PRO instructions part of the manual - click here.
 OK
let's begin!
2.1
Go to the downloads page of our website to get the latest version of Cronus PRO file: cronusmax.com/downloads/ and click on the DOWNLOAD button. If you have any problems with the download, disable any Anti-Virus software, including Windows Defender which is enabled by default in Windows 10. Click Here for further instructions.
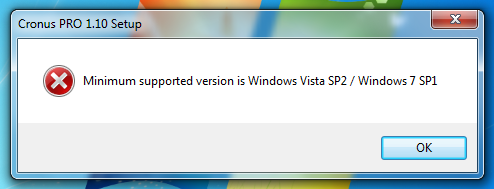
Technical Note: Windows XP is no longer supported as we have moved forward with .NET 4.6 and C++ 2015 along with various updated libraries that are no longer compatible with legacy versions of Windows. The minimum versions of Windows required for Cronus PRO is Vista SP2 and 7 SP1.
 2.2 You will now be prompted to save the Cronus PRO setup zip file. You can save it to your downloads folder or wherever you chose. Note: We do use advanced encryption technology, so it's possible that in some cases, Microsoft Windows Defender, AVG and some older AV tools may flag a false positive and either display a warning or not download or run the software at all (make sure your Virus software is up to date). Do not worry, our software is 100% safe. We would recommend if you have this problem that you temporarily disable your AV tool while installing - this includes Windows Defender which is enabled by default in Windows 10. Click Here for further instructions.
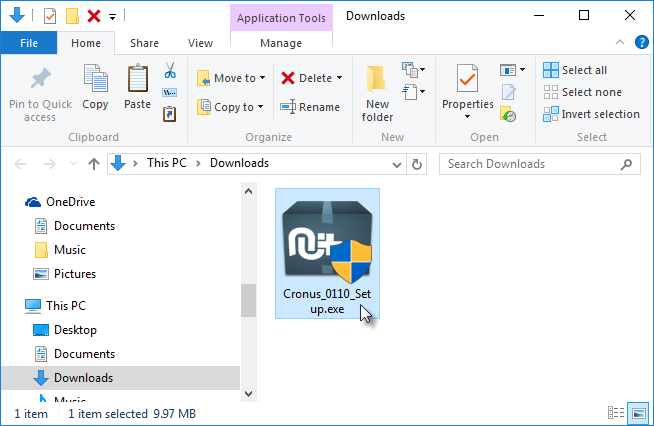
 2.3 For the purposes of this guide we are using Windows 10, so this is what it looks like when the file has downloaded and saved to the computer's Downloads Folder. It may look a little different for older versions of Windows, but the procedure is the same.
Software not downloading or installing? We do use advanced encryption technology, so it's possible that in some cases, Microsoft Windows Defender, AVG and some older AV tools may flag a false positive not download or run the software at all (make sure your Virus software is up to date). Do not worry, our software is 100% safe. We would recommend if you have this problem that you temporarily disable your AV tool before installing or running running - this includes Windows Defender which is enabled by default in Windows 10. Click Here for further instructions.
Before you install Cronus PRO, it is recommended that you are connected to the internet as the setup process checks for any missing system files such as DirectX and .NET Framework 4.6. If there are any files missing from your computer, the Cronus PRO setup will automatically download and install them for you. Open up the zip file and run the setup program.
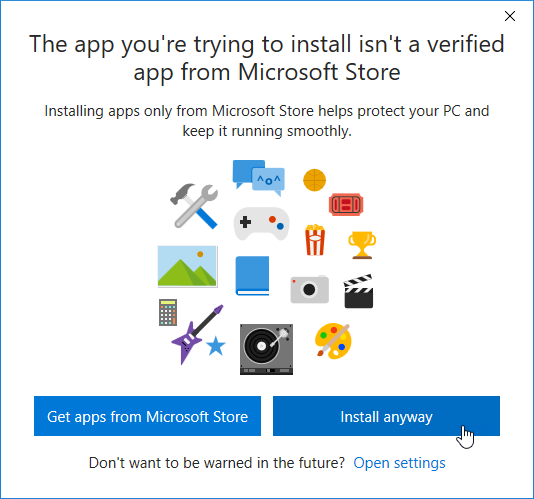
 2.4 Windows 10 users may see this warning. Click 'Install anyway'.
 2.5 The Cronus PRO Setup Wizard will now begin. Click Next.
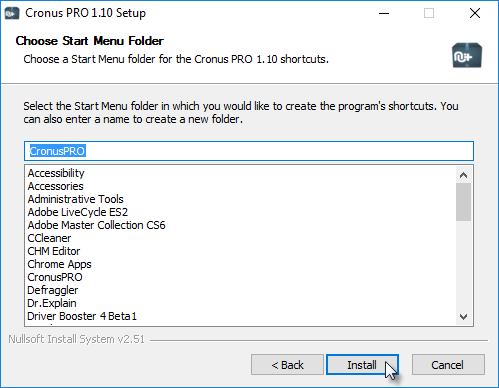
 2.6 Select the name of the Start Menu folder, the default is 'CronusPRO' but you can edit it to be whatever you like - click the Install button.
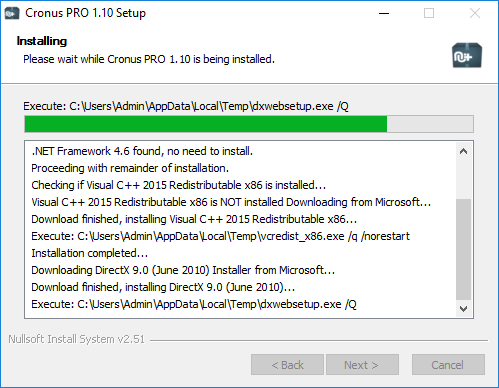
 2.7 Cronus PRO will now install. It will also scan your computer for any missing system files such as the latest DirectX, .NET Framework 4.6 and Visual C++ 2015, and will download and install them automatically for you.
 2.8 That's it! Wasn't that easy? Click the Finish button to close the setup wizard.
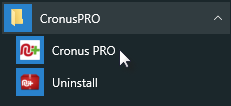
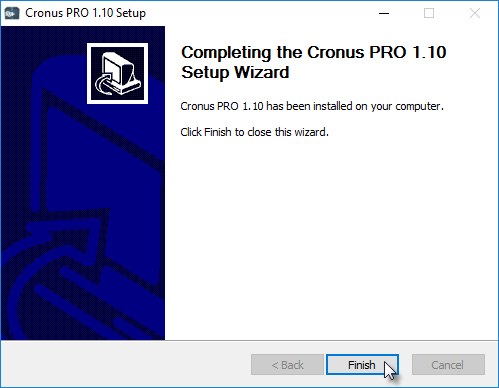 You can now run Cronus PRO by clicking on the icon in the Start Menu or on your desktop.
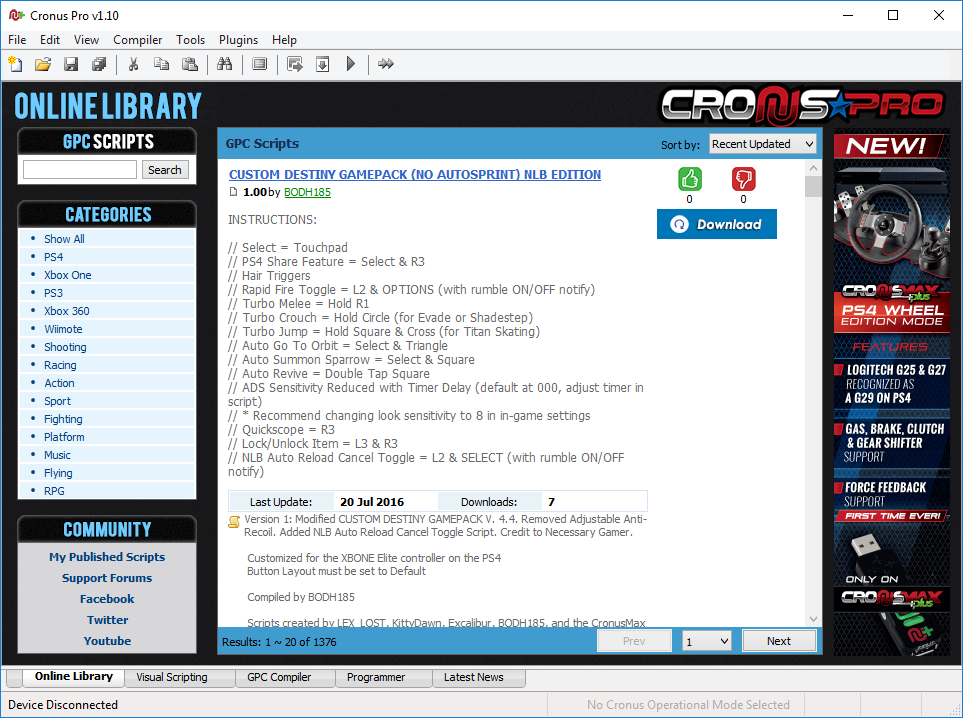
 2.9 Cronus PRO in all it's glory. Pay attention to the bottom left of the software and where it says 'Device Disconnected' (This is area is known as the Status Bar). Now let's go to Step 3 of this Quick Start Guide and connect the CronusMAX PLUS device to your PC.
 |

Connect CronusMAX PLUS To The PC
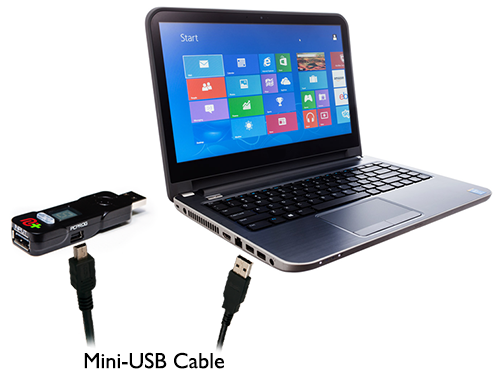
3.1
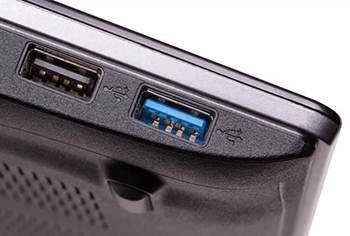
Using the provided Mini-USB Cable, you're now going to hookup the CronusMAX PLUS to your PC. Connect the smaller end of the USB cable (known as Mini-B) into the PC PROG Port of the CronusMAX PLUS and then connect the other end into a USB 2.0 socket of your PC. Make sure the connect is direct and not via a USB Hub or the CronusMAX will not recognize correctly as it needs a clean connection and power source (the LED may flicker or flash the letter P).
|
|||

Updating The CronusMAX PLUS Firmware
4.1 If
everything is working and detecting OK, the Cronus Pro Status Bar will now display 'Device
Connected CronusMAX PLUS FW v1.00'. You will also notice a gray USB Hub logo.
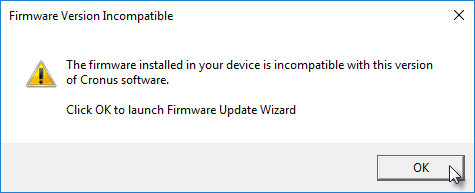
If
your CronusMAX PLUS has a firmware that is not compatible with Cronus PRO (assuming you
have installed the latest version), you will see the following pop up warning. Click OK
to launch the Firmware Update Wizard.
 This
step is critical as it includes the newest features and bug fixes. Everything in this
guide assumes that you are using the latest firmware; it's also a step that many miss
and wonder why certain features aren't working after scratching their heads for two
hours. Another reason why this step is essential is that it will validate that
everything is working correctly between your computer and the CronusMAX PLUS.
Note: To update the firmware you must be connected to the internet.
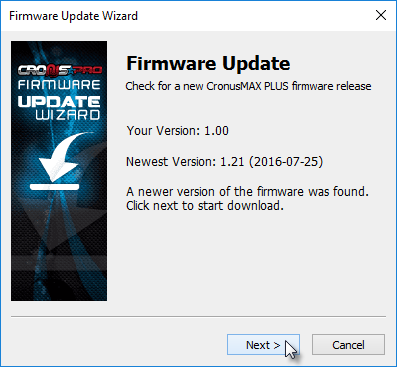
4.2
The latest version will display (For the purposes of this guide the latest version is
1.21). Click Next.
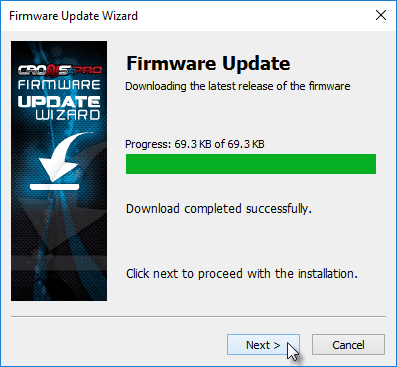
 4.3
The firmware will now download from the internet. If the download is successful you will
see the following screen. Click Next.
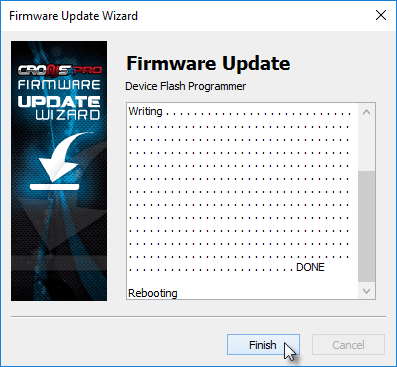
 4.4
DO NOT REMOVE THE DEVICE WHILE PROGRAMMING! If the programming of the
CronusMAX PLUS is successful, and it only takes around 5 seconds, you will see the
following screen. Click Finish.
 4.5
The Cronus PRO Status Bar should now read 'Device
Connected CronusMAX Plus FW v1.21'. You will also notice that the USB Hub logo is now
color. This means that your CronusMAX PLUS hardware is USB Hub compatible. If it says
version 1.21 but the USB Hub logo is still gray, then you have an older CronusMAX that
is not USB Hub compatible and you won't be able to use features such as PS4 Full
Crossover Support and PS4 Wheel Edition Mode.
You're now ready to start setting up your controller!
|

Find The Correct Controller/Console Guide
We
have made the navigation of the guide easy when it comes to Controllers. Go to the Controller Guides
section, select your controller then select the console you wish to connect it to - it's
that simple! Here are some easy quick-link shortcuts to the various guides.
|
||||||||||||||||

I Want To Use A Keyboard & Mouse - Now What?
Using a
Keyboard and Mouse with the CronusMAX PLUS takes a little more setting up and fine
tuning. It also requires a Windows PC to be connected at all times to your console as a
Cronus PRO Plugin called X-AIM is required.
Click Here for instructions on how to setup a
Keyboard & Mouse.
|

I Want To Use A Steering Wheel- Now What?
CronusMAX PLUS supports Logitech DFGT/DFP/G25/G27 and most Fanatec Racing Wheels on a
PS4 with full force feedback support with the special PS4 Wheel Edition
Mode.
This
brand new and exclusive feature is for users with a PS4 console and a Logitech
DFGT/DFP/G25/G27 and most Fanatec Racing Wheels. The wheel is now detected by the game
as an actual wheel and not a gamepad (specifically a Logitech G29 Wheel), giving tight,
smooth, precise control and for the first time ever FORCE FEEDBACK
SUPPORT! It also includes full support for gas, brake and clutch pedals and
also the 6 Speed Shifter without the need for any special scripts and without the need
for a computer to be connected to the console. Click here for instructions.
This
stunning new feature requires Cronus PRO v1.20 software and for the CronusMAX PLUS to be
updated to at least Firmware v1.24 and a compatible USB Hub.
For more advanced wheel support, including support for the Xbox One and many
Thrustmaster wheels and many, many accessories, we recommend another product that we
developed called DriveHub - available to buy in our store now.
|

Important Things To Read
In a
perfect world, we'd ask that you read all of the instructions and remember and
understand every word, but let's be honest; you want to game. Don't worry; we get it.
However, we promise that every single question you have is in these pages - and if you
follow this Quick Start page carefully you'll be surprised by how far you'll get in a
short space of time.
You
don't need to read all of it, only a couple of pages in the Controllers section will
apply to your setup, you may only use 3 or 4 GamePacks, so there's no need to read all
170+.
We
want you to get the very best experience from your CronusMAX PLUS, and by investing a
little time in getting to know how it works, that's exactly what you'll have. A great
experience.
Here's our Top 8 Must-Read Parts of the Manual:
|

Other Support Resources
We take
customer support at Cronus very seriously. We want to make sure you have a great
experience and that you are happy with your purchase, so work hard to make deliver an
extensive support network:
|